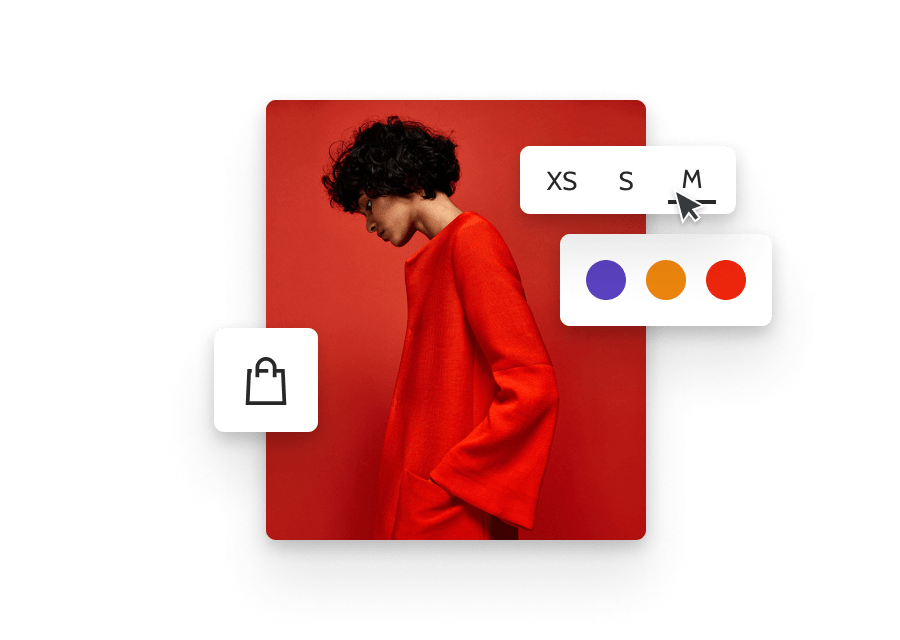
A gallery wall is a stylish and personal way to showcase your favorite photos, art, and memories. It can add visual interest to any room and become a focal point in your decor. Here’s a step-by-step guide to creating a balanced and eye-catching gallery wall that reflects your style.
1. Choose Your Wall and Layout
- Wall Selection: Select a prominent wall, such as in the living room, hallway, staircase, or bedroom, to create an impact.
- Determine Layout Style: Decide on a symmetrical layout for a formal look or a mixed layout for a more eclectic feel.
- Use Paper Templates: Trace frames on paper, cut them out, and tape them to the wall to visualize the arrangement before hanging.
2. Select Frames and Artwork
- Mix of Frames: Use frames of different sizes, colors, and textures for an eclectic look, or uniform frames for a cohesive style.
- Choose Art and Photos: Pick a variety of prints, artwork, photos, or even mirrors. Aim for a balance of styles, colors, and tones.
- Frame Colors: For a modern touch, stick to black, white, or metallic frames. Wooden or mixed-tone frames work well for a rustic or boho vibe.
3. Plan Your Arrangement
- Mock Layout: Lay out frames on the floor to test arrangements. Start with larger pieces and fill in gaps with smaller frames.
- Balance and Symmetry: Space frames evenly and create visual balance by arranging larger frames at different points.
- Theme Cohesion: Decide on a theme, such as family memories, nature art, or black-and-white photography, for a harmonious look.
4. Measure and Mark
- Measure Center Points: Mark the center point of your gallery wall to create a focal point around which other frames will be arranged.
- Spacing Between Frames: Plan 2-3 inches between frames for breathing room. Use a level to ensure straight lines.
- Mark Nail Spots: Measure the distance between the frame’s top and the hanging hardware, then mark nail spots on the wall with a pencil.
5. Start Hanging
- Start at the Center: Begin by hanging the center or largest frame and work outward to keep a balanced look.
- Use Picture Hanging Hooks: Picture hanging hooks provide more stability than nails and are less likely to damage walls.
- Level Each Frame: Use a level for each piece to keep lines straight, especially for gallery walls with a grid layout.
6. Add Personal Touches
- Mixed Media: Incorporate a variety of items like hanging plants, letters, or clocks to make the gallery wall more dynamic.
- 3D Elements: Mix in shelves for small decor items or trinkets that add dimension to your gallery wall.
- Lighting: Highlight the wall with accent lights, picture lights, or LED strips for added focus and depth.
7. Stand Back and Adjust
- Step Back and Review: Take a few steps back and assess the overall look. Adjust any frames that seem out of place.
- Make Adjustments: Tweak spacing, angles, and heights as needed until the wall looks balanced and visually pleasing.
- Fine-Tune Details: Tighten hooks or add small nails for frames that shift easily to keep everything in place.